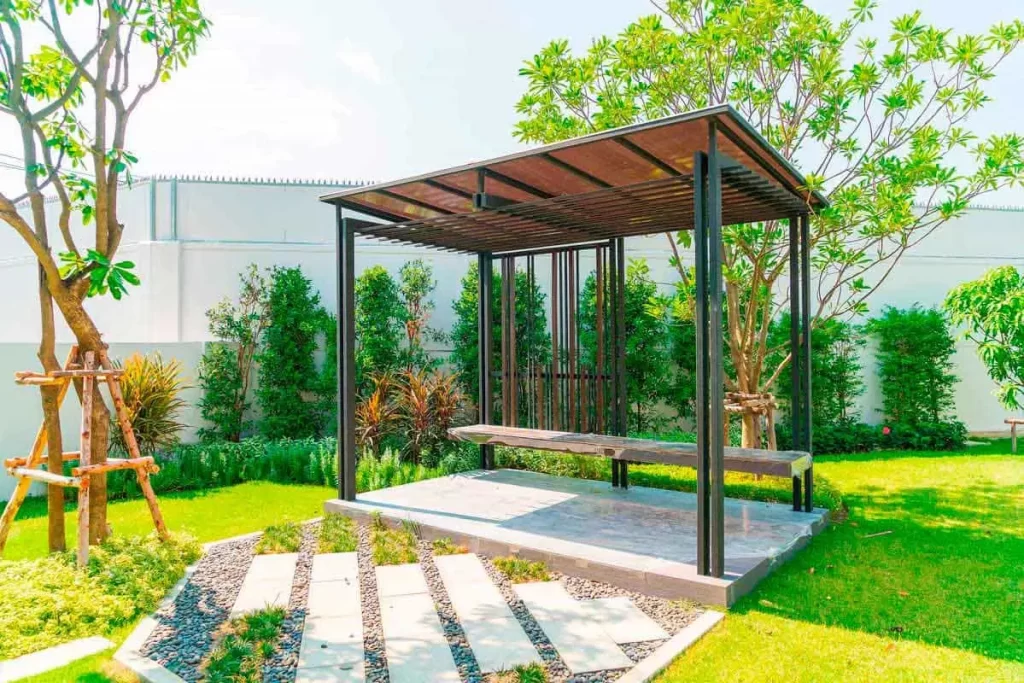
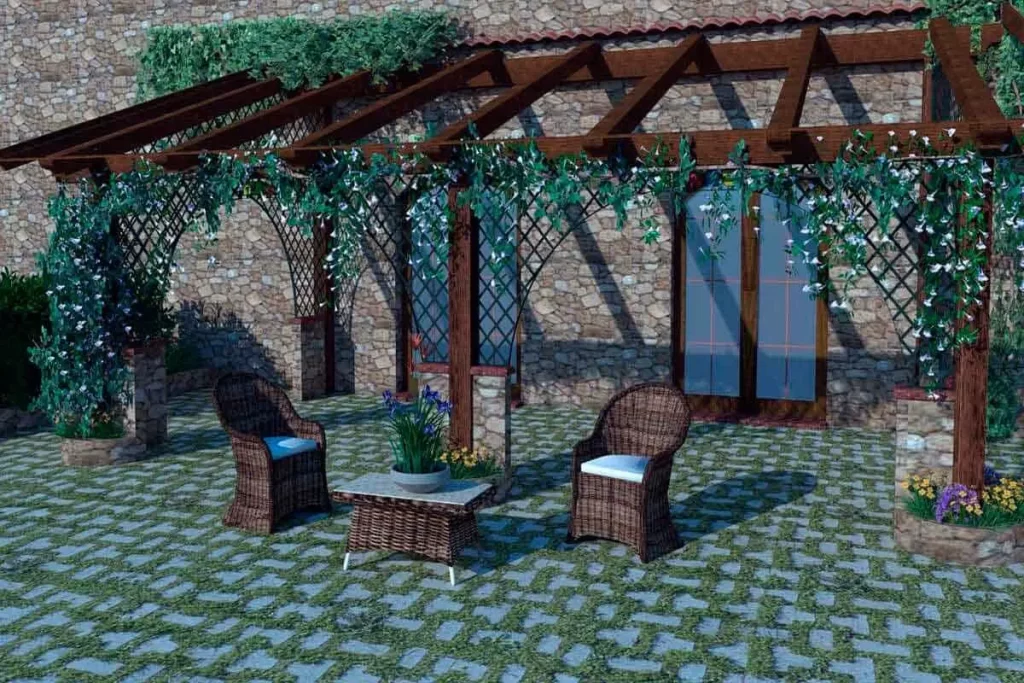
A pergola is a wonderful addition to any outdoor space, providing both shade and aesthetic appeal. Whether you want to create a cozy spot for relaxation or enhance the beauty of your garden, building a pergola can be a rewarding DIY project.
In this comprehensive guide, we will take you through the step-by-step process of constructing your own pergola. From planning and materials to installation and finishing touches, we’ve got you covered.
This step-by-step guide will walk you through the process, from planning to finishing touches, ensuring you have the knowledge and confidence to create your own outdoor masterpiece.
Table of Contents
Planning Your Pergola
Choosing the Right Location
The first step in building a pergola is selecting the perfect location. Consider factors such as sunlight, shade, and the surrounding landscape. You want your pergola to complement your outdoor space while providing the desired level of comfort and aesthetics.
Begin by assessing the following:
- Sunlight: Determine the path of the sun throughout the day to decide where you want shade. Placing your pergola strategically can provide relief from the sun during the hottest hours.
- Proximity to the House: Think about how your pergola will connect to your home. It should flow seamlessly with your existing architecture.
- View: Consider the views from your chosen location. Do you want to frame a specific view or create a private retreat?
Determining Size and Design
Once you’ve selected the location, it’s time to decide on the size and design of your pergola. Your choice will depend on your available space, intended use, and personal style. Common pergola designs include:
- Attached Pergola: Connected to your home, offering a natural extension of your living space.
- Freestanding Pergola: A standalone structure that can be placed anywhere in your yard, creating a distinct outdoor area.
- Arched or Gabled Pergola: Adding curves or slopes to the roof for a unique look.
- Modern or Traditional: Choose a style that matches your home’s architecture and your personal taste.
Gather inspiration from magazines, websites, and home improvement shows to visualize the design that suits you best.
Gathering Materials and Tools
Pergola Components
Before you start building, make sure you have all the necessary materials and components for your pergola. Typical pergola components include:
- Posts: The vertical supports that anchor the pergola to the ground.
- Beams: Horizontal beams that connect to the posts and support the rafters.
- Rafters: The cross beams that create the pergola’s roof structure.
- Shade Elements: These can include lattice, fabric, or other materials to provide shade and enhance aesthetics.
Choose durable and weather-resistant materials like cedar or redwood to ensure your pergola stands the test of time.

Essential Tools
To build your pergola, you’ll need a set of essential tools, including:
- Circular Saw: For cutting lumber to size.
- Level: Ensures your pergola is straight and even.
- Drill and Bits: Used for fastening components together.
- Post Hole Digger: To dig holes for the pergola’s posts.
Check that you have all the necessary tools and safety equipment before starting your project.
Preparing the ground
Marking the Area
With your materials and tools ready, mark the area where your pergola will stand. Use stakes and string to outline the footprint, ensuring it’s level and square. This step is crucial for a precise and stable structure.

Digging Post Holes
Once you’ve marked the area, dig post holes at each corner of the pergola footprint. The depth of the holes will depend on your local building codes and the height of your pergola. Typically, holes should be at least 2 feet deep to provide stability.
Make sure the posts are level and properly aligned before moving on to the next steps.
Building the Pergola
Setting the Posts
Place your pergola posts into the holes you’ve dug, using concrete to secure them in place. Ensure the posts are level and plumb before allowing the concrete to set. This step forms the foundation of your pergola.
Installing Beams and Rafters
Once the posts are secure, attach the beams and rafters to create the pergola’s frame. Follow your chosen design and measurements carefully, and use appropriate hardware to connect the components securely.
Adding Shade Elements
If your pergola design includes shade elements like lattice or fabric, now is the time to install them. These elements not only provide shade but also add a decorative touch to your structure.

Finishing and Decorating
Staining or Painting
To protect your pergola from the elements and enhance its appearance, consider staining or painting it. Choose a finish that complements your outdoor decor and follow the manufacturer’s instructions for application.
Adding Climbing Plants
One of the charming aspects of a pergola is its ability to support climbing plants. Plant vines or creepers at the base of your pergola, and over time, they will grow and intertwine with the structure, providing natural shade and a lush, green canopy.
Maintenance and Care
Maintaining your pergola is essential to ensure its longevity. Regularly inspect for signs of wear, and perform any necessary repairs promptly. Depending on your climate and the materials used, you may need to re-stain or repaint your pergola every few years.
Conclusion
Building a pergola is a rewarding DIY project that can enhance the beauty and functionality of your outdoor space.
By following this step-by-step guide and considering your unique preferences, you’ll be well on your way to creating a stunning pergola that adds value to your home and provides a peaceful oasis for years to come.
Enjoy your outdoor retreat, and bask in the shade of your own handcrafted pergola.